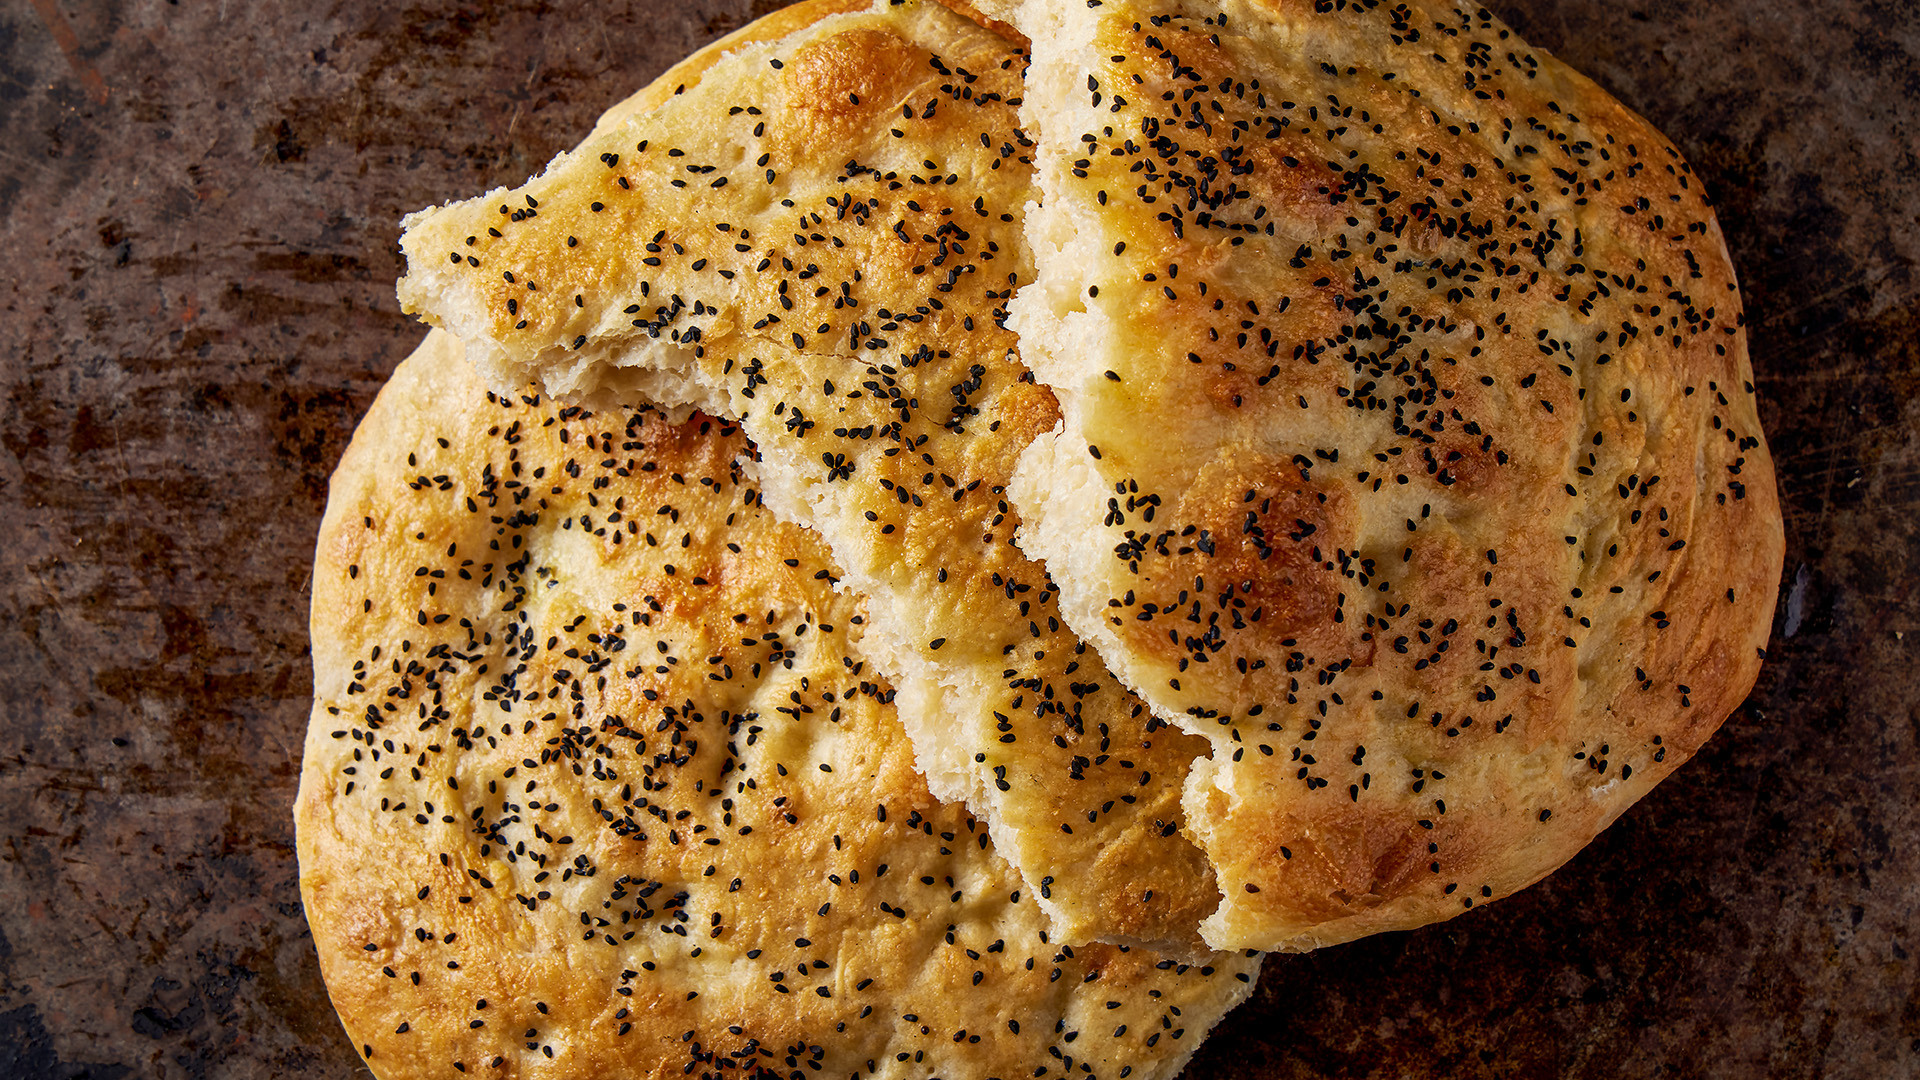
It’s more involved than those no-knead recipes that have proliferated on the web during the last decade, but that’s a good thing. It’s much faster. Instead of 20 hours of waiting for the dough to ferment, pide breads can be made over the course of a leisurely afternoon. And, frankly, they taste far better than any no-knead boule I’ve ever baked or eaten.
While technically a flatbread, pide ekmeği aren’t all that flat. They’re about two inches in height and roughly the size of a small pizza, with an airy, open crumb and a tender, almost pillowy quality—totally worth dragging out the stand mixer for. “It’s as if a Pullman loaf married a piadina,” wrote Chris Kimball. “You can tear it into pieces and use it to scoop up food or simply eat it out of hand. Marvelous.”
A classic sponge gives you complex flavor in 30 minutes
Fermentation is what gives bread its flavor, texture and rise, and a preferment gives you a head start in all three departments. The most widely known preferment is a sourdough starter, but the term refers to any portion of bread dough that’s made before being mixed into the final dough. It front loads the fermentation, something Peter Reinhart referred to as “a way of manipulating time by quantum aging the final dough via the addition of an already fermented piece of older dough” in his book “Perfect Pan Pizza.” All of this translates to deeper, more complexly flavored bread and a plush chew in a fraction of the time.
The preferment used for pide is a classic, simple sponge, made from a single cup of flour, a packet of instant yeast, a little honey (to feed the yeast) and water. It’s mixed together and allowed to stand for 30 minutes until bubbly, then incorporated into the remaining dough ingredients. Rather than waiting up to 24 hours—like you would with one of those no-knead recipes—this bread is ready to eat in just over two.
To make sure we weren’t adding unnecessary steps to our pide recipe, we set up a test and made it with and without a sponge. We also tested timing, allowing the sponge to ferment for 30 minutes, one hour and two hours. The breads with the sponge were better, chewier, with a subtle but noticeable depth of flavor. The doughs themselves also were less sticky and easier to shape. As for timing, we found two hours to be too long. Anything between 30 minutes and one hour was perfect.
(Beyond, pide, you can use a sponge in nearly any bread recipe. Here’s how Chris does it: Combine 1 cup each of flour and water and just ½ teaspoon of rapid-rise yeast, mix it in a bowl, and let it sit on the counter overnight. This gives you better flavor and improved handling; the dough will be easier to work with. The next day, add the balance of the ingredients and proceed with the recipe.)
You will need a stand mixer
Not all bread recipes require the use of a stand mixer, but owning one opens up a world of delicious possibilities. A dough hook allows you to work with wetter, stickier doughs, while the efficient motion of the mixer develops gluten much faster than your arms ever could. And this dough is wet, with a high hydration rate (weight of the water divided by weight of the flour) of just under 90 percent. This keeps the bread wonderfully soft, but renders the dough difficult to work with without mechanical intervention.
But it’s a breeze with a motorized mixer. Once the sponge is nice and bubbly, all you have to do is add it to the bowl of the mixer, along with the remaining four and water and a little oil. Attach the dough hook and knead for 5 minutes, then add the salt and knead for 5 more. Cover it with a kitchen towel and let it rise until doubled in size. Then you’re ready to bake.
Dimple, brush and finish
A few finishing touches before the bread goes in the oven are key. First, you’ll divide the dough, shape it into oblong rounds, then dimple it with your fingers, creating a grid-like pattern. This keeps the bread from rising too rapidly and bursting in the oven. Next, you’ll brush it with an egg wash, which gives the toppings something to stick to while giving the crust a shiny, golden finish. Finally, a sprinkling of nigella seeds adds light crunch and an earthy, slightly bitter flavor with notes of allium.
You can also use sesame seeds, a mixture of sesame seeds and nigella seeds, or a simple sprinkling of flaky salt. Once dusted, the bread is quickly baked in a scorching 475-degree oven until well risen and golden brown. Serve warm or at room-temperature. Pide ekmeği is great for shoveling food into your mouth, but don’t sleep on it as a sandwich bread. The soft, chewy, not-so-flat bread makes a killer breakfast sandwich.
Join the conversation on Facebook, Instagram, TikTok and Pinterest.
And if you’re looking for more Milk Street, check out our livestream cooking classes with our favorite chefs, home cooks and friends for global recipes, cooking methods and more.


